
1) First cut out a
circle of 1/8" plate or window glass. Take a piece of 1/4"zinc came
and bend it using a zinc came
bender (found at stained glass shops). Fit the zinc came around the glass circle and cut the came so it fits snugly to
the glass. Solder the two ends together to form a secure joint. Once that is complete, you will have a
"glass canvas" on which to work.

2) Next cut your
tesserae from selected stained glass. I like to use ring mottled glass because
I love the jewel colors and
combinations along with the surrounding translucent shading of glass around it

3) I cut almost all
my pieces ahead of time. Clean the tesserae. Put them in a recycled margarine container with lid., add a drop or two
of liquid soap and some water, and shake vigorously. Rinse until there are no more suds. Drain and
let dry.

4) Put your design
underneath the prepared glass substrate and tape it to the zinc edge. The pattern is directly below where you will glue your
tesserae. Clean the top side of the glass before you start gluing. I clean my glass with rubbing alcohol. My current
adhesive of choice is MacGlue. It
dries clear in about 20-25 minutes and creates a strong durable bond.

5) Then start gluing
tesserae along major design lines following the pattern. Fill in remaining
areas one color at a time. As you can
see. I tend to work from corners when completing a section. Once the corners have been filled in, the
remaining spaces become more defined and it is easier to find a close match. I usually lay out a placement
of the tesserae like I want it first. Then I take them off, spread the glue and replace the tesserae to their correct
position.

6) If you look closer
at the glued tesserae, you will see that the interstices are fairly tight, but
like the shape of each tessera
, they are far from perfect. Consistency is more important than precision in my approach.

7) Once you have
finished gluing the pieces and the glue has dried, it is time to grout. Mix the grout
and apply to the mosaic surface. I use sandless grout and add an acrylic mortar
additive, but you can use sanded
grout if that is your preference.


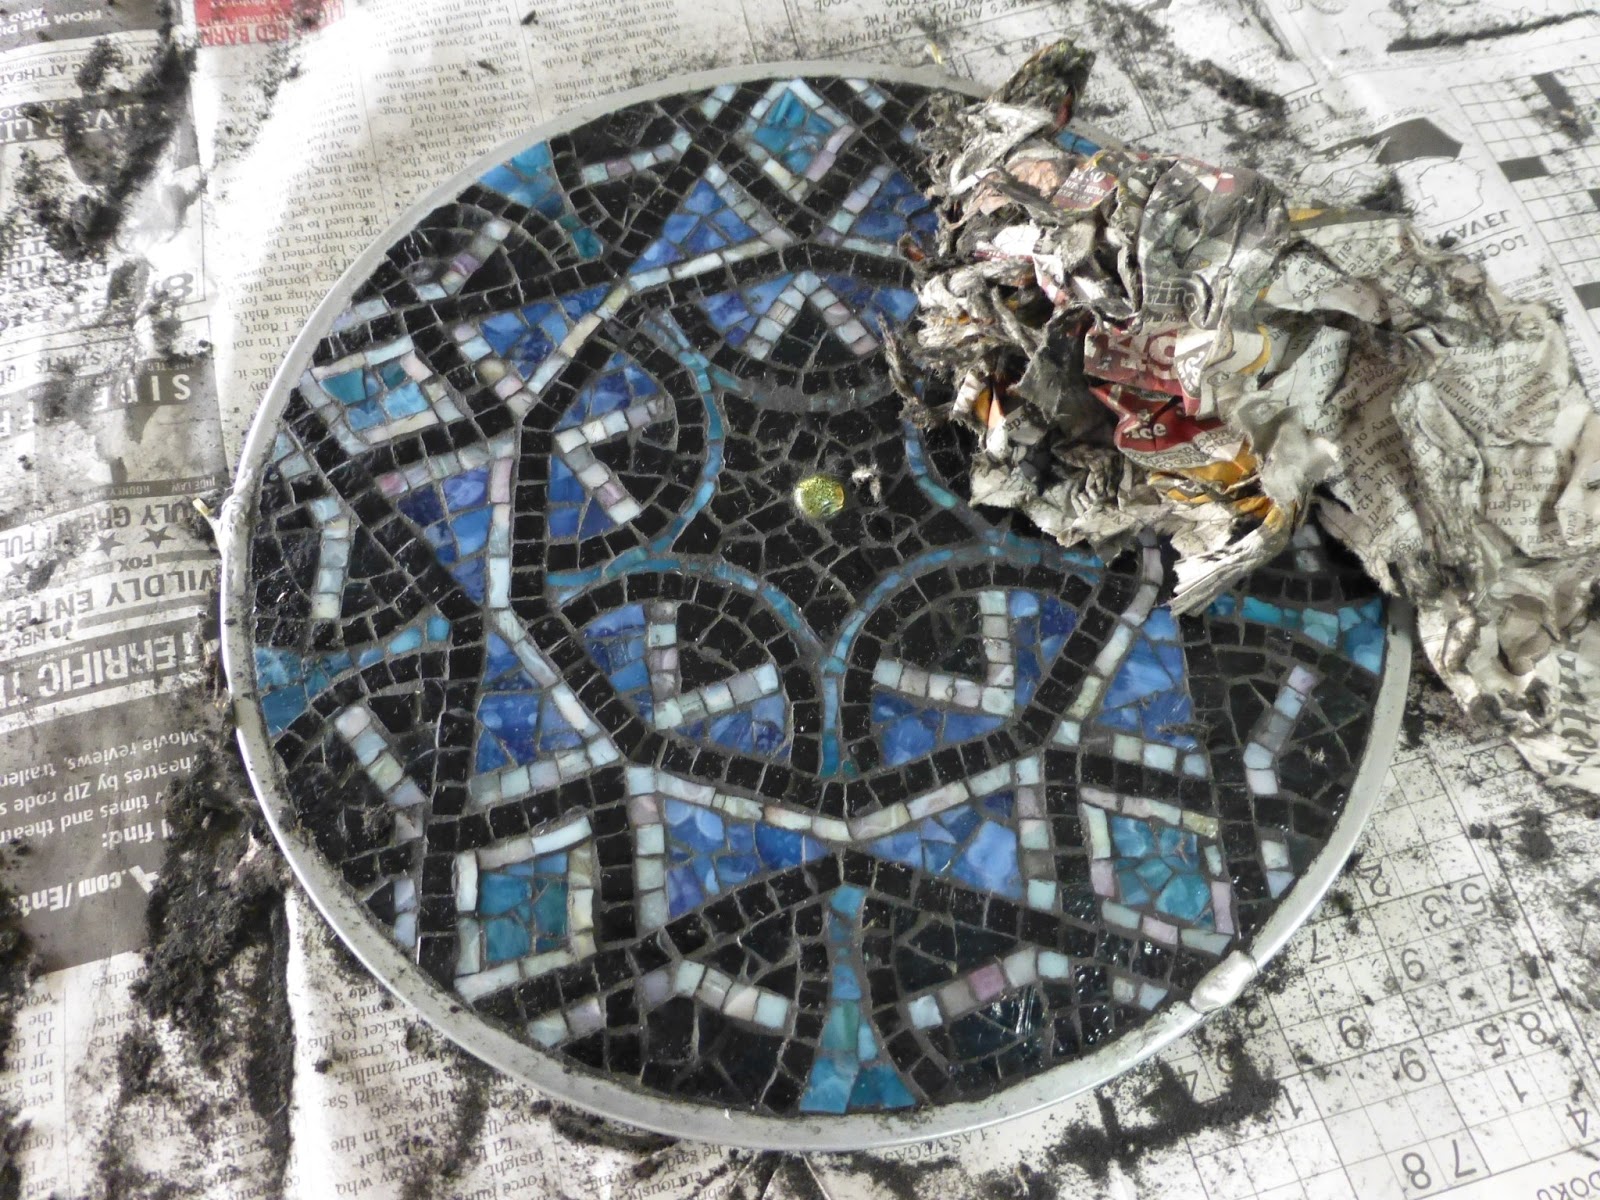
8) Wipe off the grout
after it has started to set (usually about 20 minutes) using a circular motion.
I like ot use crumpled up
newspaper that serves as a paper rags. Use them and throw them away. The mosaic design should now reappear.

9) Finish polishing
the mosaic by putting some dry grout on the top of the mosaic. Using a paper
rag and later a well worn soft
toothbrush, rub off any remaining grout residue from the surface of the tesserae. (I save the gritty grout mixture after I am finished for the next time.)
You can also use a dental pick to do the
final clean up as needed.

10) Solder rings or hangers
to the zinc frame so that the mosaic can be hung in the window. After a day, you may want to do a quick scrub with a
brush using half vinegar/half water solution to really have the mosaic sparkle. Attach a chain and enjoy your creation.

David Chidgey
www.facebook.com/artglassmosaics
I have no word to say anything about this beautiful mosaic products. Its stunning.Thanks for sharing with us.
ReplyDeleteI always love your work and glass choices!
ReplyDeleteHi, Its a great Post. Thanks For Sharing Me a Beautiful Information.
ReplyDeleteCASEMENT WINDOWS